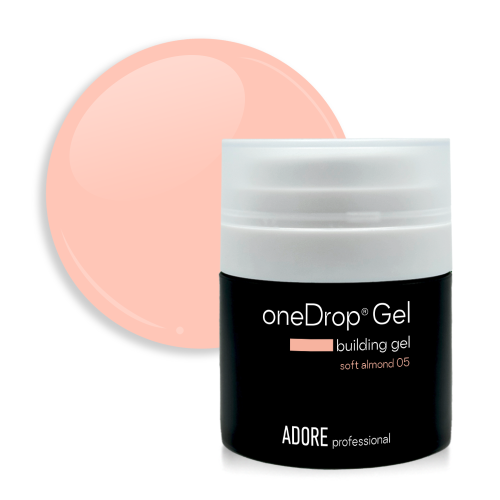
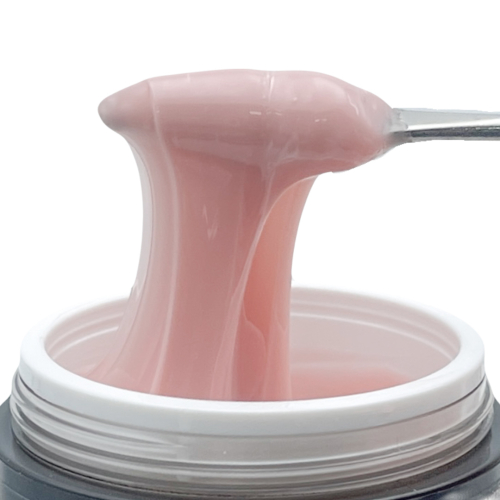
One Drop Gel No05 – milky–peach – is a medium–thick camouflage gel for nail extension, strengthening, and architectural correction of medium to long nails. It is used for: – extension on upper and lower forms – strengthening and correcting nail architecture as a stand–alone product or in combination with harder polymer materials. Advantages of One Drop Gel: convenient medium–thick consistency, cold polymerization, natural shades. The main advantage is excellent self–leveling. The gel has medium pigmentation, and its natural shade camouflages the transition from the natural nail to the artificial, adapting to the color of the nail plate. It is easy to use and store thanks to the vacuum dispensing system: one pump equals one drop. The drop volume is adjustable by the pressure applied to the pump. Hardness: high. Viscosity: medium. Plasticity: low. Density: medium. Pigmentation: medium. Note that before use, the clear protective silicone cap must be removed from the pump. Application technology: 0. Prepare the nail plate: perform a manicure and shape the free edge of the nail as desired. 1. Degrease: mechanically (with a buffer) and chemically (with PREPFINISH and a lint–free wipe) degrease the nail plate (NP. 2. Dehydrate: apply NAIL FRESHER to the entire nail, allowing it to air dry until a whitish hue appears on the surface of the NP. 3. Bonding: skip this step if using the adhesive base PRO BASE–BOND. 4. Base coat: apply an even layer of the PRO BASE–BOND base coat, carefully covering the side walls and free edge. Polymerize the base coat in a UV lamp for 2–3 minutes or in an LED lamp for 60 seconds. 5. Strengthening: using a gel brush, apply a rubbing layer of gel over the entire surface of the NP, leaving a 1mm gap from the cuticle. On the uncured gel, apply a second leveling layer, following the basic principles of modeling with solid materials. Polymerize in a UV lamp for 2–4 minutes or in an LED lamp for 90 seconds. Remove the sticky residue using PREPFINISH and a lint–free wipe. Use a 150/180 grit file to sculpt the shape step by step. PRO tips: – to ease the material application, upper forms or gel tips can be used. – to prevent lifting from the free edge, it is recommended to file the natural nail from the inside by 1–2mm. Extension: prepare and place forms one at a time on each finger. Lay a thin base of the desired length and shape directly on the lower or upper form, modeling the nail architecture using the gel. To create an arch, push the gel up on the 7–12 second mark, depending on the type and power of the lamp. Then send the nail to the lamp for full gel polymerization for 60 seconds in an LED lamp or 3–4 minutes in a UV lamp. Remove the sticky residue using PREPFINISH and a lint–free wipe. Use a 150/180 grit file to sculpt the shape step by step. PRO tip: apply gel leaving a minimum 1mm gap from the cuticle to avoid material lifting in this area.
Reviews
There are no reviews yet.